What is the Critical Rendering Path?
The critical rendering path is the collection of steps made between the time when your browser receives an HTML response from a server, and the painting of the requested web page. In this post, I’ll break down the process so it is a bit more precise, while also providing some tips to optimize each of the steps.
DOM Tree
The DOM, or Document Object Model, is an object-based representation of the parsed HTML. For example:
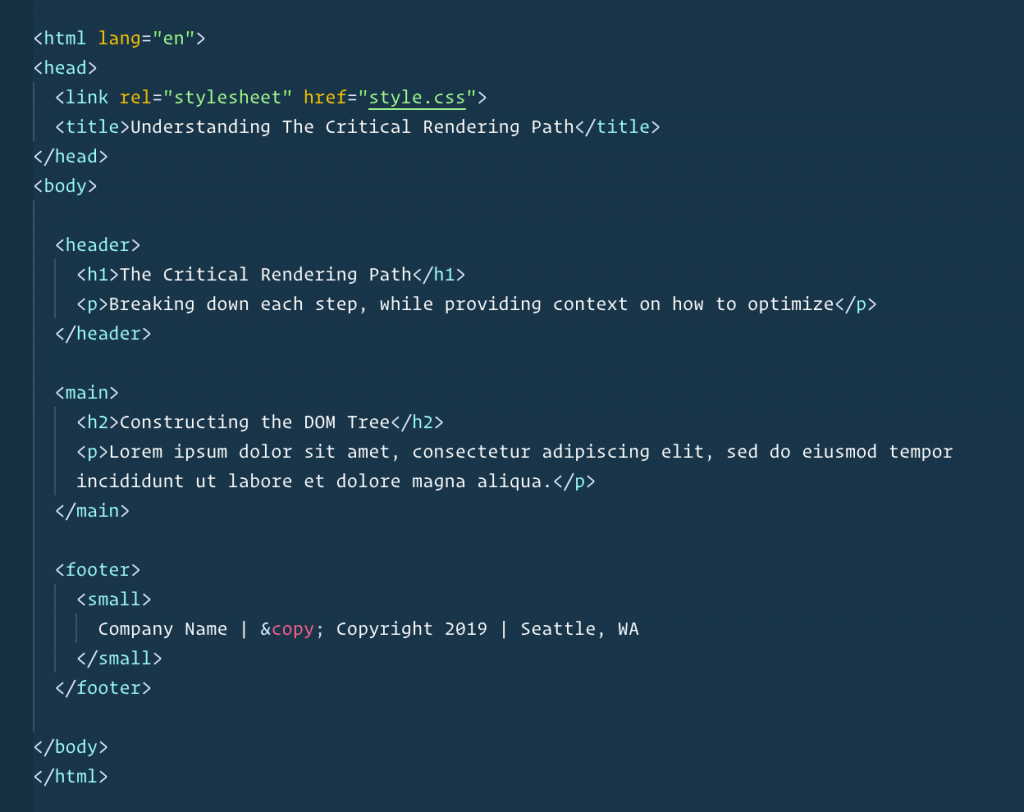
As the HTML is parsed, it will construct what is called the DOM Tree. The DOM Tree is made up of the objects that are parsed via HTML and XML. For example:

While this is only one part of the critical render path, making sure you are writing clean semantic markup will help to ensure your HTML is parsed quickly for optimum performance.
CSSOM Tree
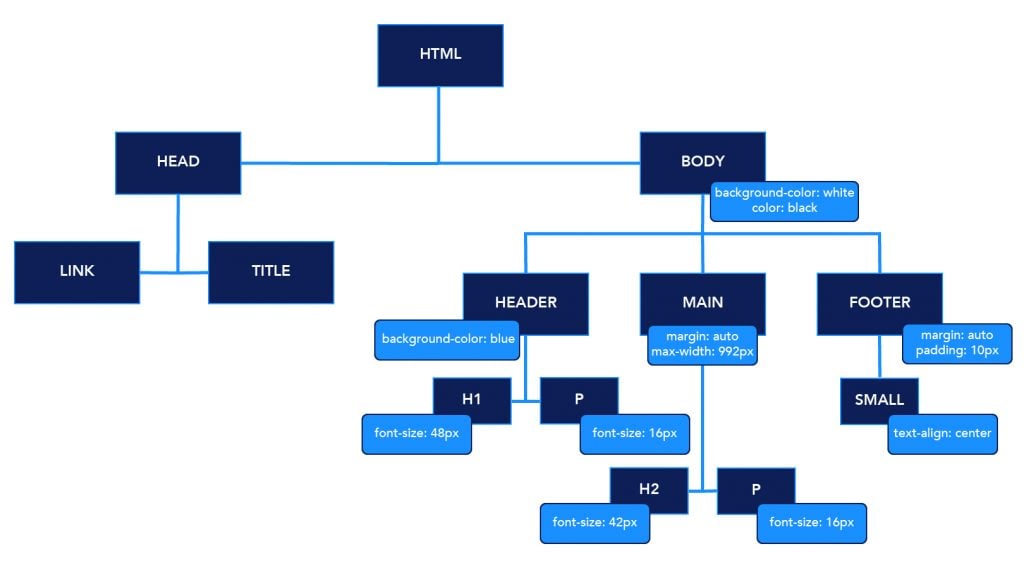
Similar to the DOM, the CSSOM is also object-based. The CSS Object Model represents the styles associated with each node that lives in the DOM. Styles can be declared or inherited.
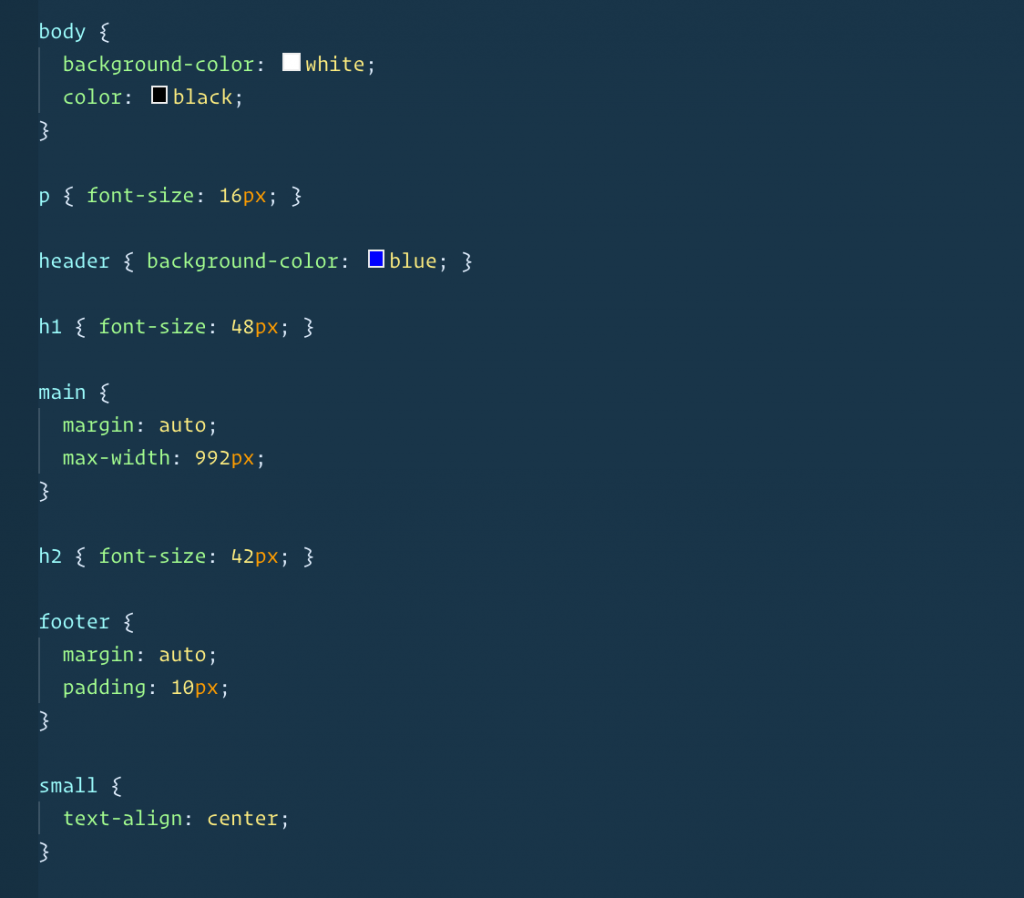
The above CSS would create the following:
CSS is a “render-blocking” resource, which means that the render tree (more information on this later in this post) cannot be built until after the CSS is loaded. In past years CSS was typically served as one file style.css. Now, developers are using different techniques that allow you to split your files and serve critical styles, which can help reduce or eliminate any render-blocking sources you might be loading.
How to Reduce Render-Blocking Resources
As developers, we have some techniques we use that can help with render-blocking resources. Here are a few ways you can ensure you are not blocking the render tree from loading.
Start From the Beginning
If you have the resources, the best way to avoid blocking the render tree is during the initial phase of your website build or configure during the website maintenance period.
- Map your modules/components/layouts, so you have the header, hero, and content that typically shows up before the fold (initial scroll point) in a critical-styles.css file. This file will usually be much smaller than your entire style.css because it only contains the above the fold styles. You can load the critical styles first, and after page load, the rest of the styles would then load. This technique can drastically increase the speed of your website and remove any unwanted render-blocking CSS.
- Make sure you are using base styles. If you are using Bootstrap, Foundation, or other frameworks, these are typically imported in automatically, although it is good to double-check.
Use Autoptimize
For WordPress users, you can prevent render tree blocking by using the Autoptimize plugin, along with the Autoptimize Critical CSS addition. Both plugins offer free and paid versions; you can find the plugin in the WordPress Plugin Repository.
Inheritance
As you create your styles, it is vital to understand inheritance and the role it plays with CSS.
- Plan BEFORE you write! It is always beneficial for developers and webmasters alike to create a roadmap before you begin writing styles. Note any similarities between components, create utility classes for each similarity, and keep it simple. Far too often I see new developers (including my “Jr.” self) building from the inside out, and that can get you into trouble. This can lead to you breaking a fundamental development rule, DRY (Don’t Repeat Yourself).
- Make sure you aren’t overriding styles.
- Utilize base styles as much as possible (as shown in the above image).
For more information on how you can optimize your page speed and reduce render-blocking resources, check out Portent’s Ultimate Guide to Page Speed.
JavaScript Execution
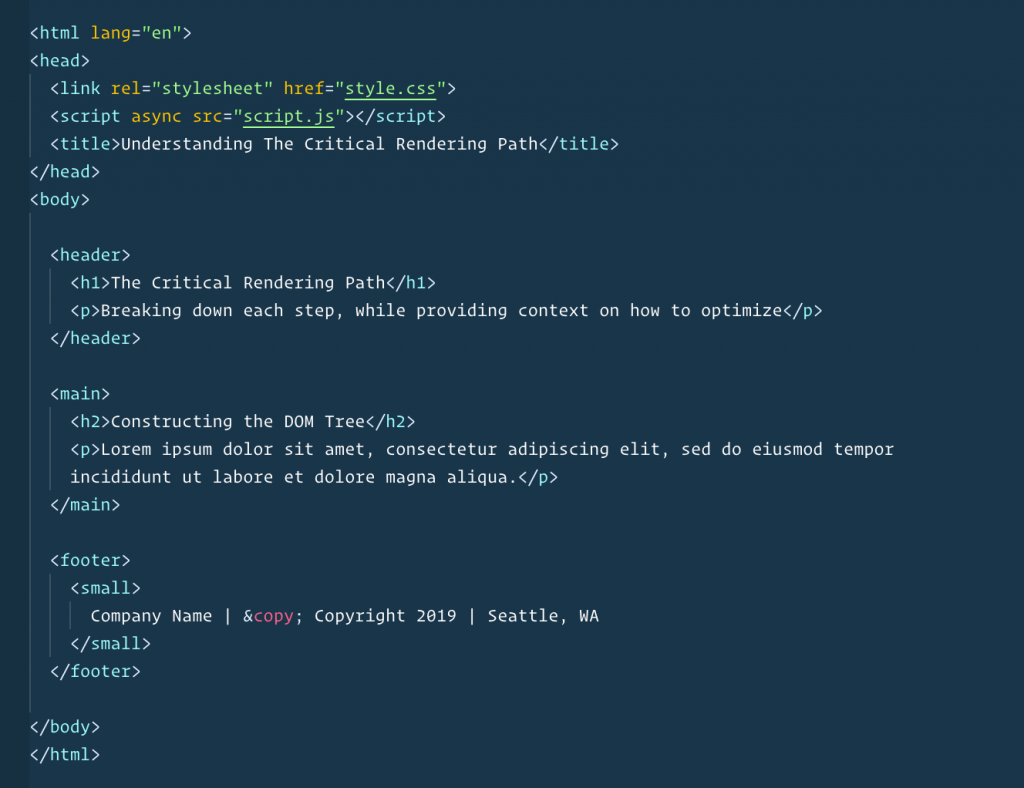
JavaScript is a dynamic language that allows you to manipulate the DOM. One of the more popular ways of doing this is by adding interactivity to your websites, like a carousel slider or popup module, for example. The problem with adding these types of interactions is that they are costly to website load times—this is because JavaScript is a “parser-blocking” resource. While your browser is reading the document, a JavaScript file is encountered and construction of the DOM Tree is paused. Once the script has executed, construction continues.
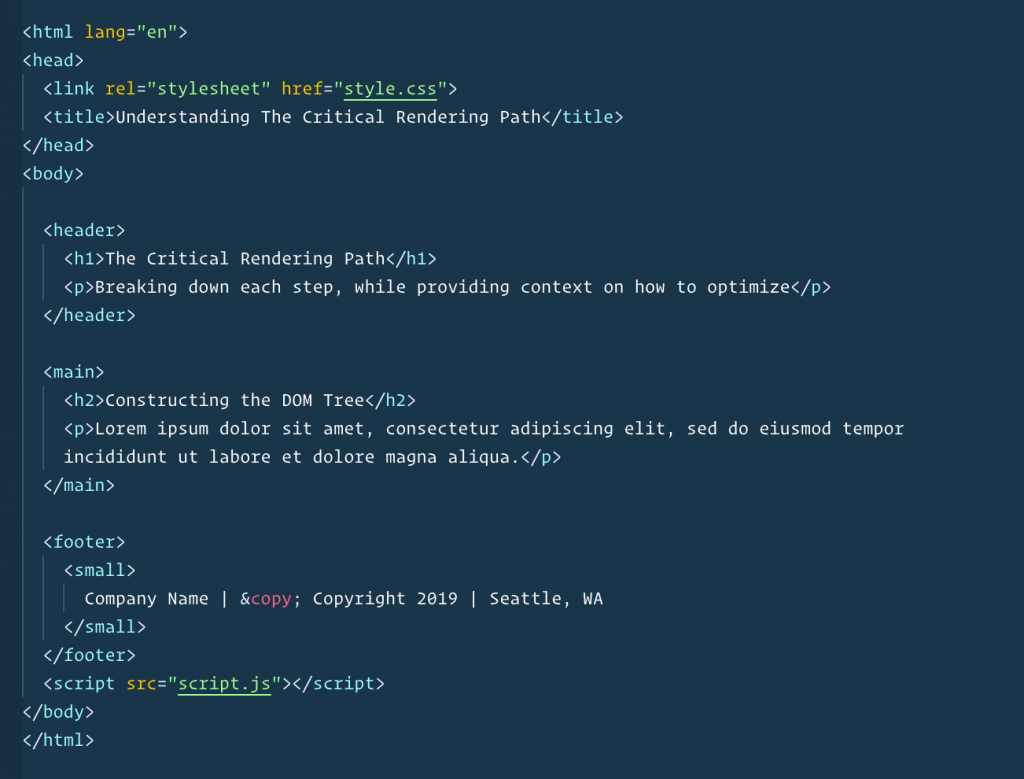
Here is an example of loading your script in the footer:
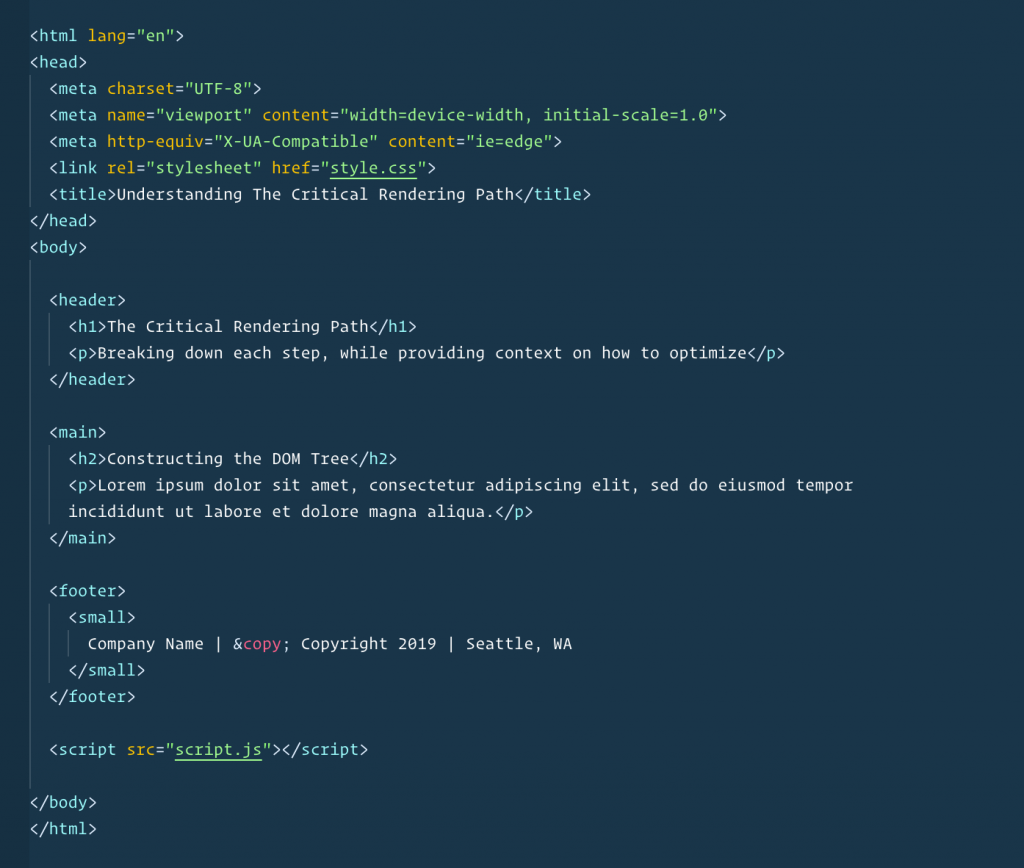
Here is an example of loading your script asynchronously:
JavaScript can be a costly resource if done incorrectly. Here are a few tips that can help your JavaScript run more efficiently, reducing any/all parser-blocking resources:
- Write Vanilla JavaScript rather than employing jQuery.
- Dynamically load your scripts based on whether a specific ID lives on the page. That way, a browser only has to make one quick check to see if the ID exists, rather than running the entire script. (For WordPress users, wp_enqueue_script function will do this.)
- If possible, serve your JavaScript with the components that the JS is going to be manipulating. That way, you are only loading the JS if the element lives on the page.
- HERO SLIDERS ARE BAD, no if’s and’s or but’s about it. IF you must use a slider, try to make sure it is lower on the page, preferably, below the fold.
- If you have third-party scripts loading on your page, there isn’t a whole lot you can do. But there are a couple of things to try:
- Add an “async” attribute to the “script tag.”
- If available, host the script within your files. That way you aren’t relying on a third-party host.
The Render Tree
Combining the DOM and the CSSOM results in the creation of the Render Tree. The tree represents the computed layouts of each visible layout, which are then served to paint the process that renders the pixels to your screen.
Constructing the Layout
Now that we have a fully rendered tree, we can begin to illustrate layout construction. This step establishes the location and placement of the elements on the page, taking into account the size of the viewport, the width, and height of elements, as well as the position of where the elements are in relation to one another. By default, block-level elements have a width of 100% within their parent element. The parent element, in this case, would be the viewport or screen size.
As we create the markup, it is essential to be responsive in your thinking. One way that we can make sure our app or website is responsive in relation to the viewport is to use the meta tag:
By doing this, you are ensuring that your app or website is visible within the current viewport. There are other steps to ensure your site is fully responsive, but that is a topic for another blog post.
Painting the Picture
The final step of the critical rendering path is painting the picture. Once the DOM, and CSSOM have fully parsed, the JavaScript will execute, the Render Tree is computed, and the layout constructed, the website begins to be painted on your screen. This process converts each node/element of the Render Tree into visible pixels on your screen.

Optimizing the Critical Rendering Path
If you have ever run a site speed test, you have likely seen the “First Contentful Paint” in the metrics section for Google’s Lighthouse tool. This number is the result of the critical rendering path. If you see your score and you aren’t sure if it is good or bad, luckily for us Google provides colors for us to understand.
Green = Good
Yellow = Could use improvements
Red = Trouble is lurking
Often, this can be misleading, which is one of the primary purposes of this post. As you run audits, it would be beneficial for you and your team to begin optimizing at the DOM Tree level. After optimizing the DOM Tree, move forward with optimizing the CSSOM. Often times, after optimizing the DOM and CSSOM, you will see less warnings as these are very critical parts. If you are still getting warnings for JS optimization, try a few of our recommendations listed in the JavaScript Execution section of the post.
To Recap
While website resources and implementations can vary. The critical rendering path is consistent. It is important to understand the ins and outs of the process so you and your team can begin optimizing for the future. To summarize, here are some steps to help your process going forward:
- Look for ways to clean up your HTML
- Optimize CSS
- Set base styles for similar elements and components
- Remove unused CSS
- Implement critical styles that load above the fold
- The JavaScript
- Use Vanilla JS, rather than entire libraries
- Dynamically load scripts
- Use Async, when applicable
- If you must use sliders or other interactive elements, try to use them below the fold, so they are not render-blocking.
- Minimize the use of third-party scripts, if possible, if not – try loading asynchronously.